Do you ever look back through your photos after traveling and wonder why your photo doesn’t do justice for where you traveled to? I do. As I scroll through my image library, I tend to be disappointed as my photos look bland. What happened to that beautiful landscape, that smiling local, and that delicious meal? These places brought more to the table than what my photographs show and I want to be able to share that experience through my photos – for viewers to feel the excitement, smell the atmosphere, and taste the food. The only way to share these experiences in this way is to learn how to take the perfect travel photo, which is exactly what I did. Now it’s your turn!
To take the perfect travel photo we should know more about the place we are going, right? Yes! This means you’ll need to research the location you are traveling to. Search landmarks, architecture, areas of natural beauty, events, and anything else you may want to see and take pictures of. Make a list and prioritize what you want to see. You might want to find out when the sun rises and sets at the place you’re going to for the best lighting and even look up how to say words like “hello,” “smile,” and “thank you” so you can take pictures of locals.
The first thing may seem obvious to start off with, but you want to make sure your camera and/or phone battery is charged – you can always bring a backup battery or portable charger. Another must do is to make sure there is plenty of storage on your device. You want to be able to take as many photos as you want and not run out of space. You’ll want to familiarize yourself with your camera and/or phone settings. This is so you can change your settings when you need to and you’ll be ready to go! Now it’s time to divulge into the good stuff – lets take a look at lighting and contrast, Rule of Thirds, focal point, frames, and angles.
Lighting and Contrast
When taking the perfect travel photo you definitely want to know how to work with lighting and contrast. Working with light takes some getting used to. When you take a photo you will always want the sun to be behind you so your subject is illuminated from the front. If the sun is not behind you, the photo will not be well lit. If you are stuck with direct sunlight, use your camera’s daylight mode. This will adjust the intensity and color temperature so your photo will look fantastic! If you want to manually adjust the color temperature, you can play around with the white balance and color temperature settings on your camera to find the optimal lighting for the photo you’re about to take. If you’re out and about at night, make sure you put your camera’s low light settings on and use flash. This will help warm up colors and help your night time photo look great. It’s very important to know your camera’s settings before heading on your trip so you can effectively change your lighting settings when you need it.
Contrast is a distinguishable difference between objects. You can play with colors to find contrast – think of the color wheel and use opposites when finding colors to contrast in your photo. Contrast can be used with patterns, clouds, and shapes too. When you look around the area where you want to capture your photo, think of contrast and it will help your image pop!

Rule of Thirds
When taking a photo you’ll want to break your photo into three equal parts horizontally and vertically. Some camera settings allow you to place a grid on the screen which will make this process easier for you. Next, you’ll want to find three elements that you want to focus on in your photo. For example, let’s say your three elements are a rock, a mountain, and a plant. You’ll want to place these three elements on three different sections of your gridlines – this will draw your viewers’ eyes to subjects in the photo. Now that you understand the Rule of Thirds you can change up your focal point!
Focal Point
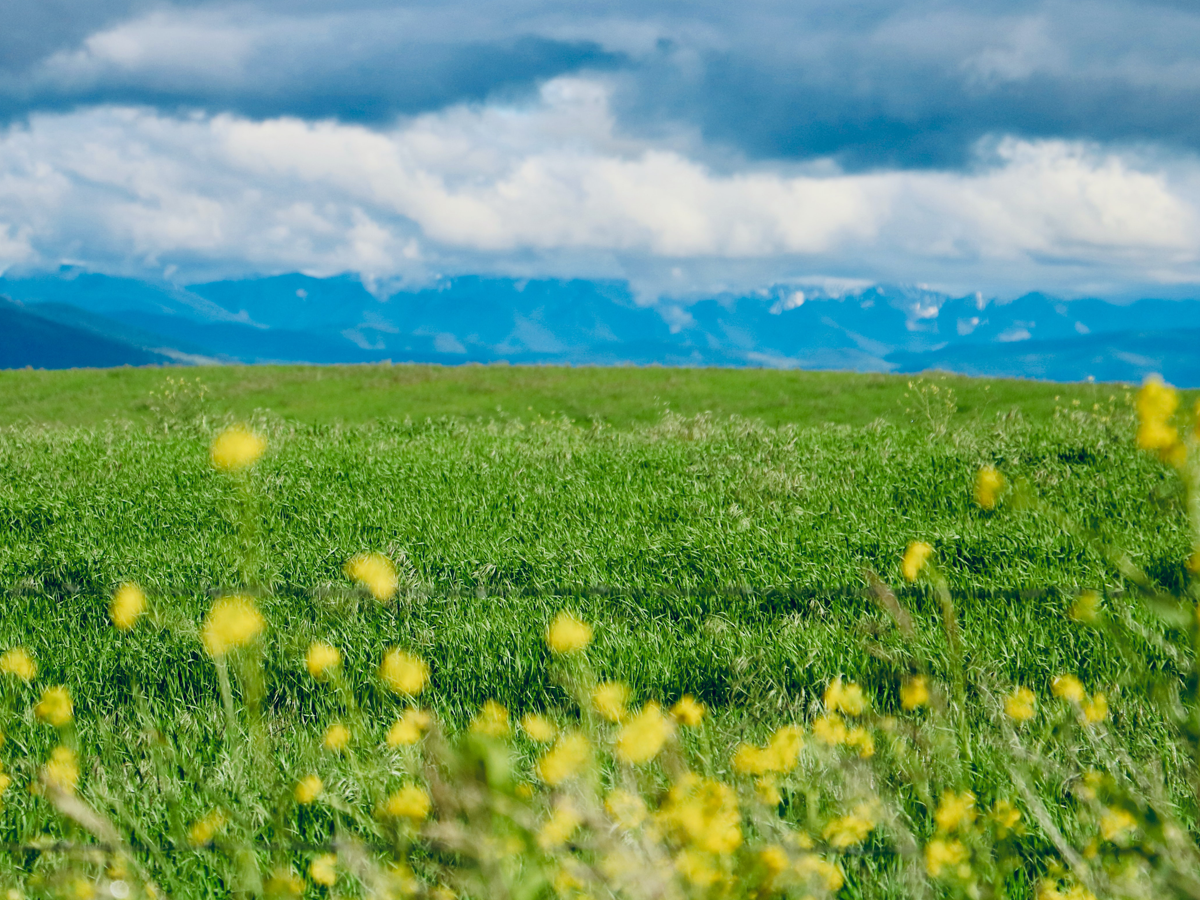
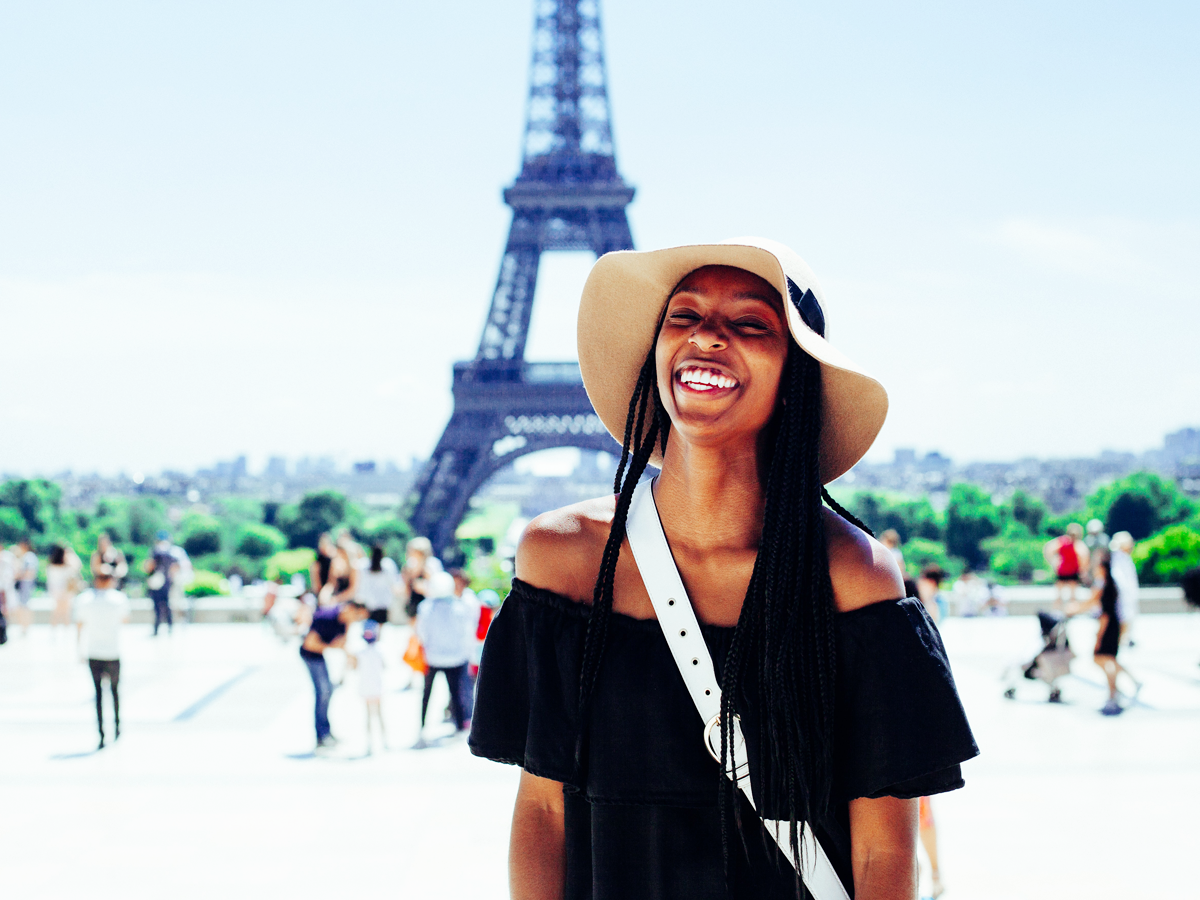
The focal point is what you want image viewers to focus on. If you have a travel companion, put them in your photo as a subject and if you’re solo traveling, look for a subject. You’ll want to look for the small details to find your subject – the quirky, colorful and cultural details. For example, if you want to take a photo of a mountain or anything larger than life, you’ll want to show your viewers how big the main subject actually is. To do this, place a smaller subject in the distance which will show the perspective of how large the bigger subject (the mountain) is. Line the mountain or object in the back with the smaller parts in view. Your viewers will see your photograph and say “wow” just like you did when you were standing there in person. The focal point is just one way to show off your awesome trip.
Frames
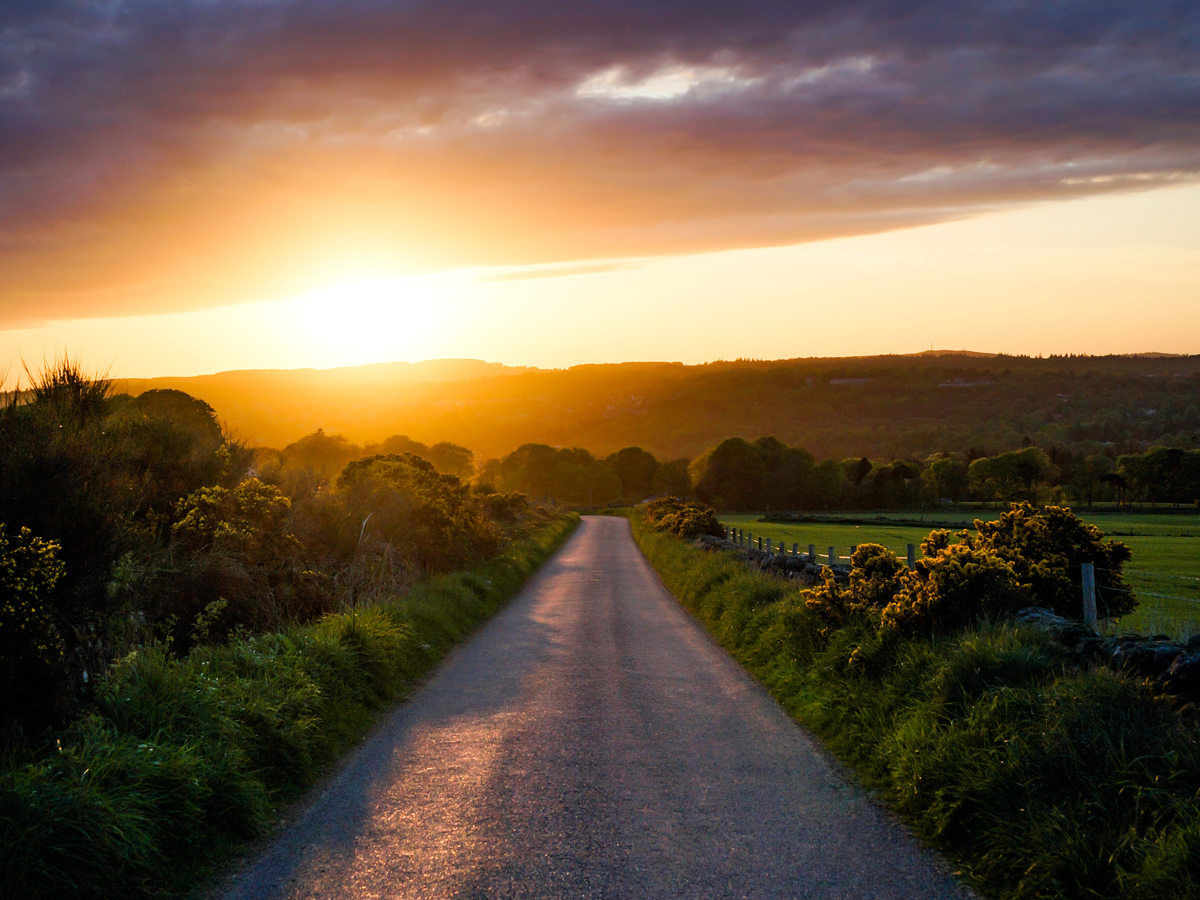
Another way to take a perfect travel photo is by framing. Framing draws focus to a subject in the photo which can be done in multiple ways. The first way you can frame a subject is by putting one subject clear into focus and blur the background. Your camera will have a setting to be able to do this. On a phone, setting will be called “portrait mode.” A second way to frame is by using leading lines. Leading lines are roads, lines, or anything else that draws a line(s) to the main subject. Using leading lines sends the viewer of the image deeper into the photo. The last way to use frames is by using other objects to frame your main subject to keep the focal point obvious. You can do this by having your subject between doors, windows, trees, branches or anything else you can find that will frame your subject. This will allow your subject to be the focal point, but also adds texture to your photo. Give framing a try, I guarantee you’ll love the results.
Angles
Have you ever seen a photographer climbing walls or lying on the ground? Try it! Angles are important to play around with when taking a photo because doing so gives you unique shots and changes up your viewpoint. Changing up a view point in a photo shows a perspective that people normally don’t see, like a view from the ground. Angles are an important part in capturing the perfect travel photo.
Tell A Story
Lastly, tell your travel story! If you want to take a photo, think about what you want to bring to life in your shot. What thoughts, feelings, smell, and emotions do you want your viewers to feel? They say a picture is worth a thousand words – this is so true! Knowing what you want to bring to life will help you acknowledge what you really want to capture and help you tell your story. Try getting up early or staying up late to take the images that most people wouldn’t. Tourist spots won’t be as crowded and you’ll even get the golden hour glow – it’s worth trying!
Another way to tell a story is to get lost on purpose. Take the road less traveled, but first make sure to ask locals that where you’re headed is safe. Wonder around for the day, see what you find. I guarantee you’ll find authentic places and more locals. Locals tend to stay away from tourist areas so if you’re off the beaten path, you’ll have an opportunity to photograph the culture of your travel spot! This is why I mentioned to learn how to say a few words so you can ask locals to take their picture to capture their emotions and day. Bring the entire trip to life in any way possible and tell your story.
Now that you have the techniques to take a perfect travel photo, it’s time to head to a destination! When you look back through your photos after traveling, you’ll be happier than you’ve ever been before looking through your photos. As you scroll through your image library you may find yourself proud because your photos give your experience justice. Your viewers will not only see the beautiful sites but they’ll be able to feel the emotions, smell the smells, and even taste the food through your photos. You’ll have the perfect travel photos and they will definitely be worth a thousand words.